14 Apr Printer Installation Workaround (Thermal)
If you install the thermal printer driver and are not able to get the printer to work, here is a workaround that will fix the problem.
First, navigate to the Devices and Printers section.
Press the Windows Start button.
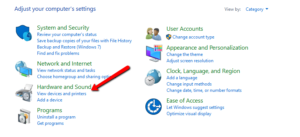
Choose Control Panel
If the Control Panel is in Category view, click on the View devices and printers.
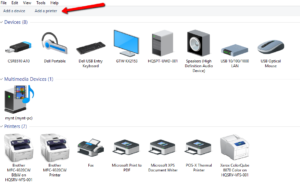
Once you get to the Devices and Printers screen, click on add a printer.
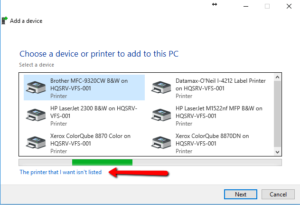
Next, choose “The printer that I want isn’t listed” and press next
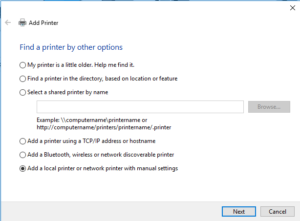
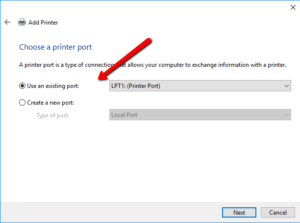
Next, choose “Add a local printer or network printer with manual settings”
Choose Next
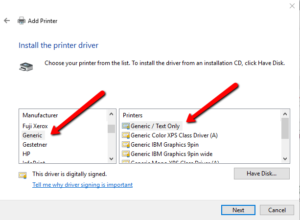
On the “Install the print driver” screen, choose Manufacturer “Generic” and the Printers “Generic/Text Only” and press “Next”
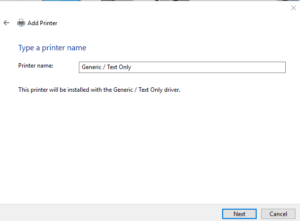
Press “Next”
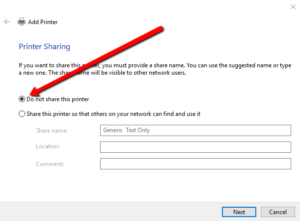
Choose “Do not share this printer” on the next screen and click “Next”
Press “Finish”
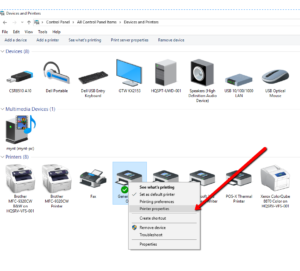
You will see a Generic Text printer on the list of printers now. Now right-click on it and left-click “Printer Properties”
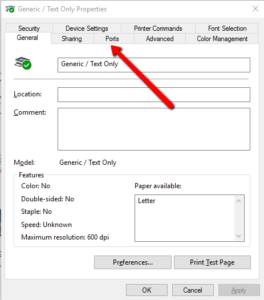
Press the “Ports” Tab
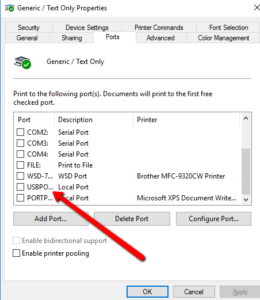
Then scroll down on the list of ports til you find a Virtual USB port. It may look like the one in the picture and select the USB port and press Apply.
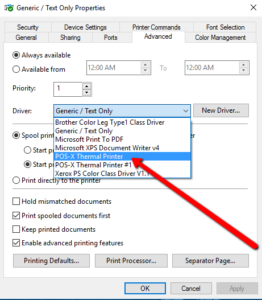
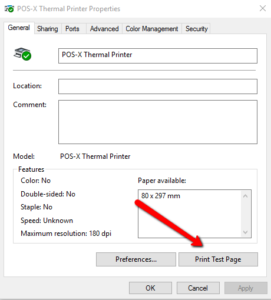
Now Press the “Advanced” Tab. Select “POS-X Thermal Printer” in the Driver section and press Apply. The name will change to POS-X Thermal Printer.
Then Press the General tab and press ” Print Test Page”


